| User Interface/ Customizing the User Interface |
Customizing the User InterfaceRealsoft 3D contains an advanced drag & drop based GUI development system. It
allows customization of existing user interfaces, as well as creation of
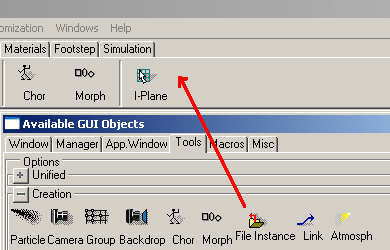
completely new ones. Available GUI Objects windowThe 'Customization/Available Objects Window' pull-down menu opens a window, which contains all installed user interface elements. Note that the contents of this window may vary depending on the version and installed plug-in modules. Adding tools to toolbarsThe 'Tools' tab in this window includes all the installed tools. Simply drag & drop the desired tools into your toolbar.
Creating new user interfaces1. Start the program with a new 'blank' project by clicking the 'Blank' project icon of the 'environments' folder, or replace the current environment using the pull down menu 'Environments/Blank'.
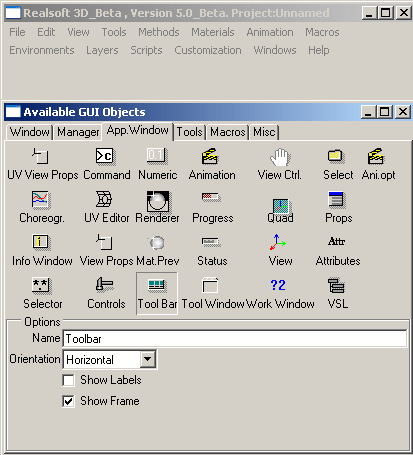
2. Select the pull down menu 'Customization/Available Objects Window'. 3. Go to the 'App.Window' tab and click the 'Tool Bar' icon. The lower part of the window now shows you some GUI object specific options. Set the 'Show Frame' option and drag the 'Tool Bar' icon into the 'blank' main window.
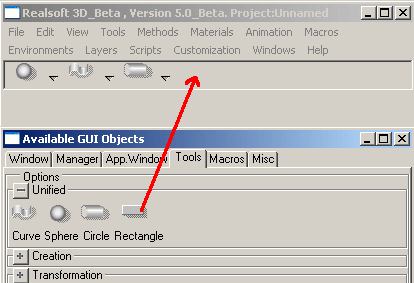
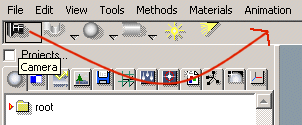
4. Go to the 'Tools' tab of the Available Objects window and open the 'Unified' frame. Drag the 'Sphere' icon into the toolbar. Continue dropping tools until the toolbar contains all the tools you need.
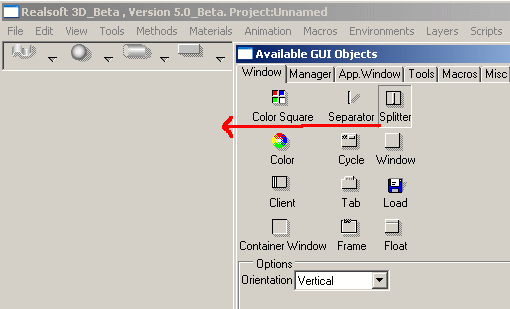
5. Click the 'Splitter' icon of the 'Windows' tab of the Available Objects window. Again, the lower part of the window is changed to reflect the splitter specific options. Set 'Orientation' to 'Vertical' and drag & drop the splitter into the main window.
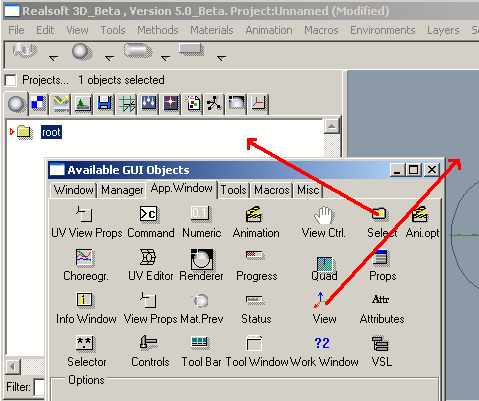
6. Go to the 'App.Window' tab and drag the 'Select' object to the left side of the splitter and the 'View' object to the right side of the splitter.
7. When the GUI is ready, close the Available Objects window. To save the created user interface, select the 'Environments/Save Environment' and enter a desired name for the file. You have now created a new fully working user interface and you can use it
right away! For example, to create a sphere, simply click the sphere tool. Geometry managersWhen creating new windows, the first thing you have to do is to drop some sort
of geometry manager into the window. If you do not do this, one is created
for you automatically, as soon as the first GUI object is dropped into the window.
There are currently three geometry managers available:
Once you have selected the desired geometry manager and defined appropriate attributes for it (horizontal/vertical, etc.), you can drag & drop it into the application window. Then you can drop the actual GUI objects in, and they will be aligned automatically
by the geometry manager of the window. Editing user interfacesIn the previous example we created a customized user interface from scratch. However, we also have to be able to delete GUI objects from the user interface, as well as modify their attributes (such as the orientation of a toolbar). This can be done in the 'Edit' mode. To enter the GUI editing mode, select the pull down menu 'Customization/Edit GUI'. You will no longer be able to use the interface. Instead, you will be able to rearrange the controls in the interface by dragging them.
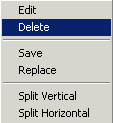
To delete a GUI object from the interface, move the cursor over the object (the frame will be highlighted) and click the right mouse button. This opens a GUI object specific pop-up menu. Select 'Delete' to delete the object.
Select the pull down menu 'Customization/Edit GUI' again to leave the edit mode and return to normal.
|

 |
 |